Taking Family Christmas Pictures is a cherished tradition, capturing joyful moments that last a lifetime. I’ve been documenting my own family’s holiday season with DIY photos since I got my first camera. From simple, candid shots to more posed portraits, it’s a process I’ve grown to love. Now, I even enjoy editing to add that extra sparkle to our memories. If you’re looking to capture beautiful family Christmas pictures yourself, here are my quick and easy tips to help you create stunning holiday portraits at home.
 Inspirational family holiday photo
STEP 1: Find Inspiration for Your Family Christmas Pictures on Pinterest
Before you even pick up your camera, the first step is to gather inspiration. We’re all familiar with those picture-perfect family Christmas pictures featuring flawless models in catalogs. Or perhaps you admire the work of professional photographers with their mastery of lighting, composition, and color. The fantastic news is that you can easily emulate these stunning visuals! Don’t hesitate to draw direct inspiration; it’s perfectly acceptable. No one will ever guess your family Christmas pictures were inspired by that Target ad – they’ll just admire how great they look!
For visual inspiration, Pinterest is my go-to resource. Its search function makes it incredibly easy to pinpoint exactly what you’re looking for. Simply search for “family christmas pictures” on Pinterest, and you’ll be presented with a wealth of beautiful images. You can also refine your search with terms like “holiday photo outfit ideas” and “Christmas photo poses” (using “holiday” interchangeably with “Christmas” works well too). The next step is to identify the images that truly resonate with you.
When you come across a photo that catches your eye, save it by pinning it to a dedicated board. You can create a general board for all your family portrait ideas, or make seasonal boards. As you save images, pay attention to these key elements:
- Location: Is the photo taken indoors or outdoors?
- Poses: Are the subjects sitting or standing? Are they looking at each other or directly at the camera? Are they in motion or posed statically?
- Outfits: What color palettes are they using? What style of clothing?
 Family photo inspiration board on Pinterest
STEP 2: Essential Equipment for DIY Family Christmas Pictures
Let’s talk equipment. To take your own family Christmas pictures, especially if you want more than just snapshots, you’ll need a camera. The good news is, most of us already carry a camera in our pockets – our smartphones! Modern cell phones, even budget models, can capture impressive images, especially in good lighting conditions. However, if you’re aiming for more professional-looking family Christmas pictures, consider investing in a quality point-and-shoot camera or a DSLR.
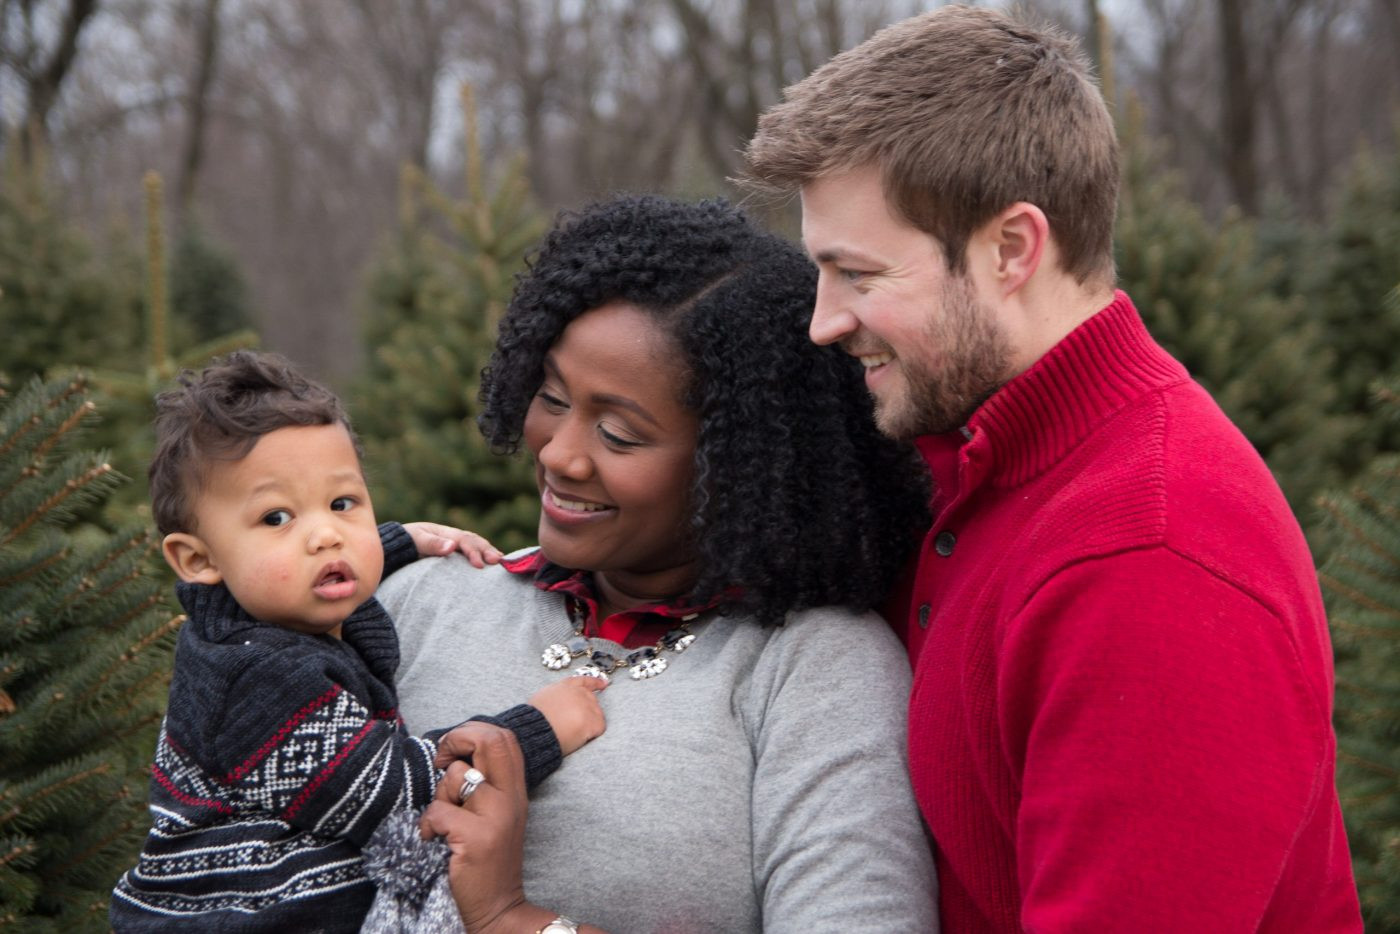 Camera equipment for family photos
While we own a fantastic point-and-shoot, the Canon G7X, I prefer my DSLR for family Christmas pictures. DSLRs offer more creative control and semi-professional results without a huge price difference compared to high-end point-and-shoots. If you already own a DSLR and lenses, perfect! Skip ahead to the equipment list below.
For our photos, I use an entry-level Canon t5i, which is about four years old. While you might still find new t5i models, for beginners, the latest model, the T7i, is a great starting point.
The interchangeable lenses are what make DSLRs so versatile. They often come with kit lenses, or you can buy the camera body separately and invest in specific lenses. I started with a kit lens and later upgraded to specialized lenses as I gained experience. Here’s an early photo Joseph took of me using the kit lens that came with my camera.
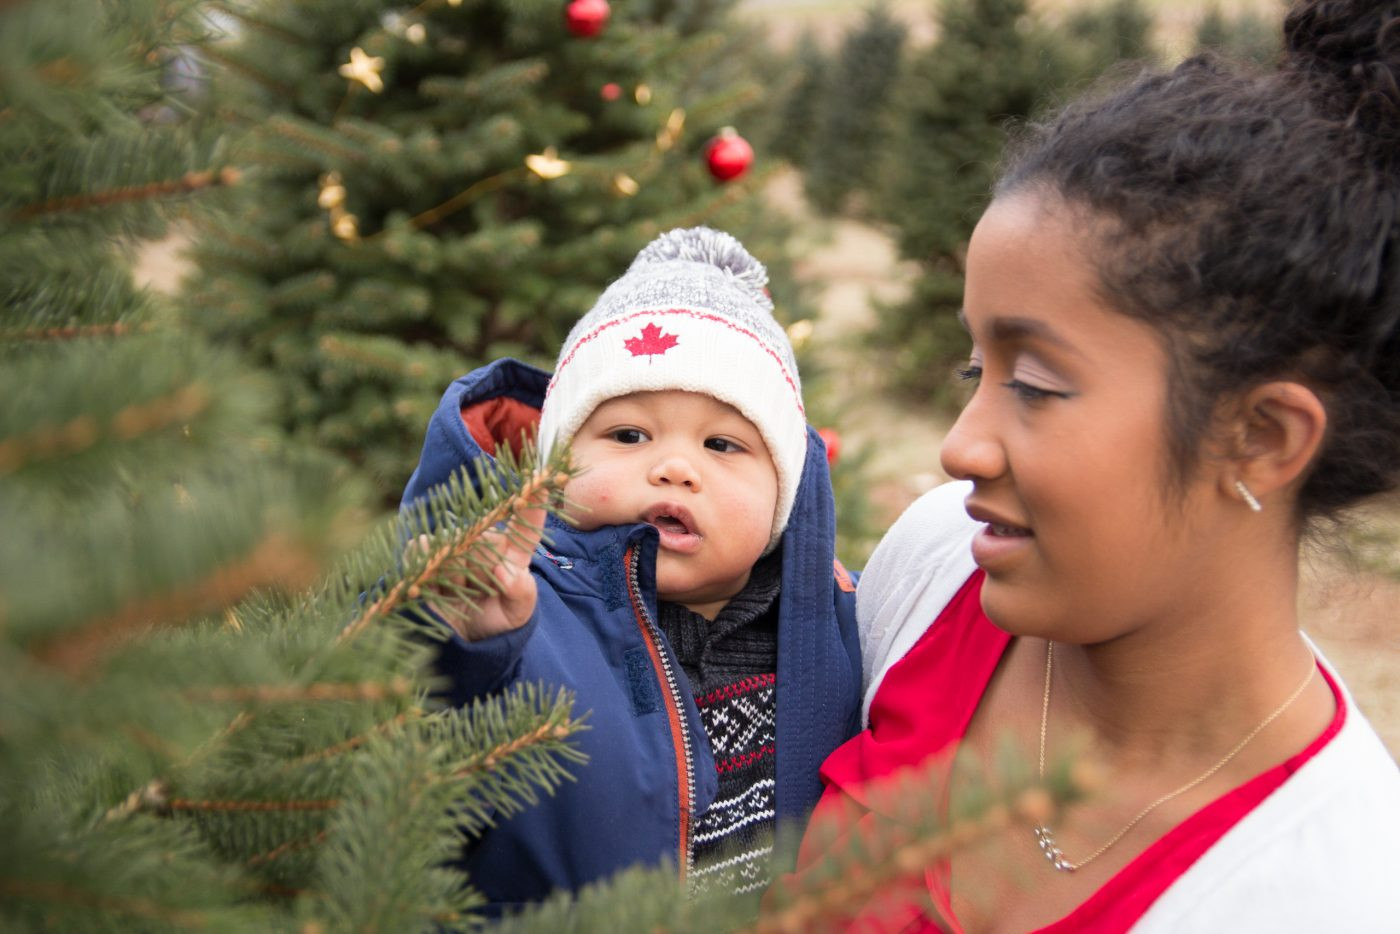 Early family photo with kit lens
Now, my kit lenses mostly gather dust. I primarily use two lenses for almost all my photography. The first is the “nifty fifty.” It’s incredibly affordable and takes stunning photos, especially if you love that beautiful blurry background effect (bokeh). The only limitation is that it’s a prime lens, meaning it doesn’t zoom, so you have to physically move closer or further away to adjust the framing. My second favorite lens is the Sigma 17-50mm. It’s a bit more expensive but incredibly versatile and has become my go-to lens.
Beyond the camera and lens, you’ll definitely need a tripod. A tripod is essential for holding your camera steady so you can be in the family Christmas pictures yourself! Finally, I highly recommend a camera remote. A remote eliminates the need to run back and forth to set the timer, and it’s fantastic for capturing more candid moments by allowing you to take multiple shots without disrupting the flow.
Equipment List:
- Camera (Smartphone, Point-and-Shoot, or DSLR)
- Lens (if using DSLR – kit lens or prime/zoom lens)
- Tripod
- Remote Shutter Release
STEP 3: Choosing the Perfect Time and Place for Your Family Christmas Pictures
Now for the fun, creative part: deciding on the time and location for your family Christmas pictures. The “golden hour,” the hour after sunrise and the hour before sunset, is widely considered the best time for photography. During these times, the sunlight is soft, warm, and diffused, creating beautiful, flattering light. Full disclosure: I haven’t always shot during golden hour and still achieved great results. The next best option is an overcast day, as the clouds act as a natural diffuser, providing soft, even lighting.
Location options for family Christmas pictures are plentiful. A simple yet charming option is to use your home, with your Christmas decorations as a backdrop. We did exactly that for Christmas 2015 when I was heavily pregnant and didn’t feel like venturing out for photos. Another cozy idea is to take photos in bed wearing festive pajamas for a relaxed family Christmas picture.
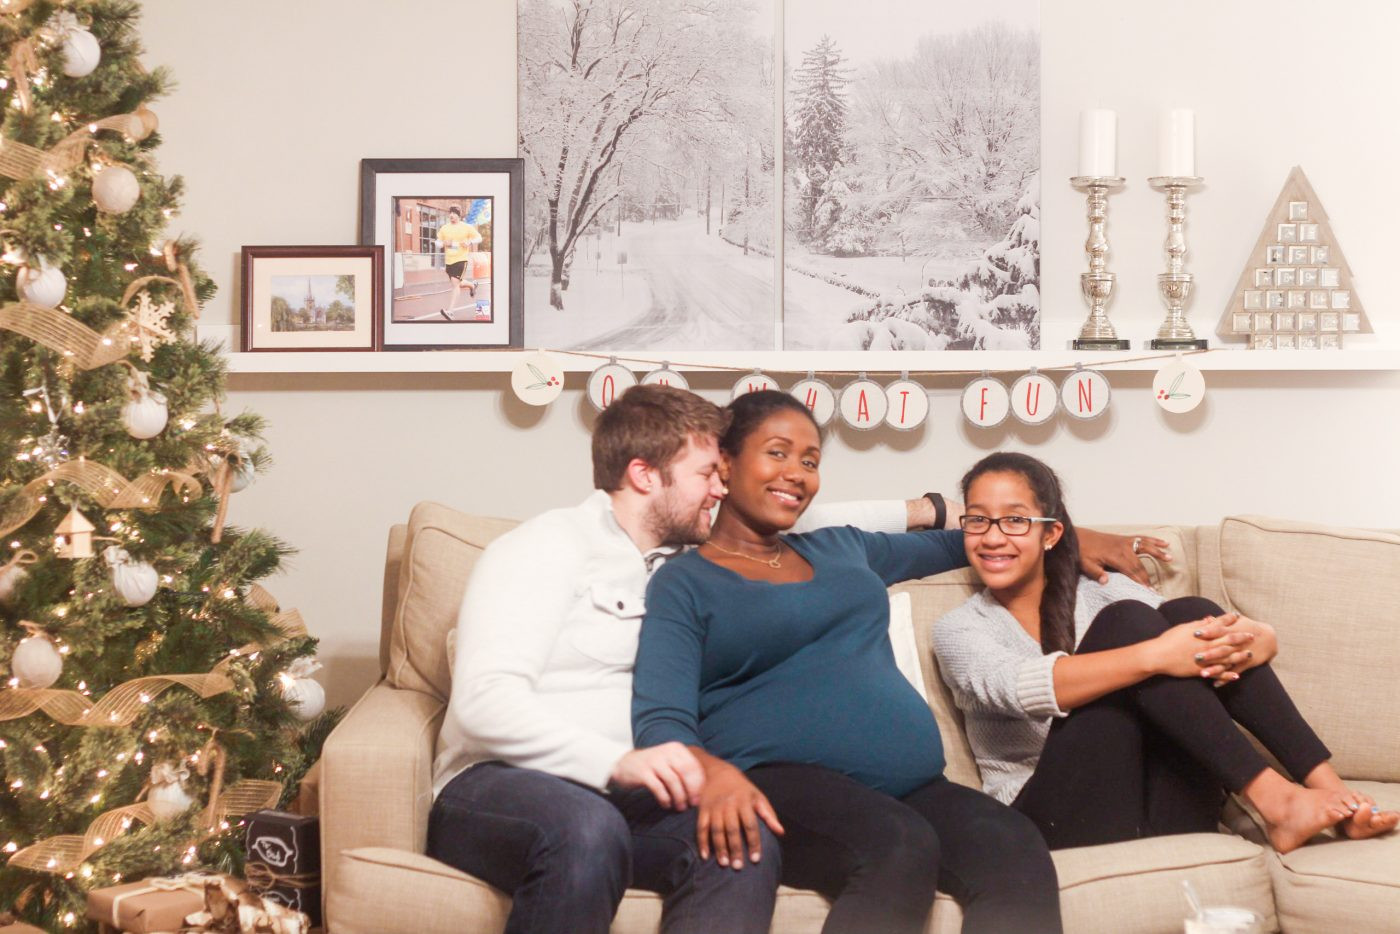 Cozy indoor family Christmas photo
For a DIY backdrop, try hanging Christmas lights on a blank wall with a white sheet. I haven’t tried this yet, but it’s on my list! Or, utilize the darkness and the soft glow of your Christmas tree lights to create unique and magical family Christmas pictures, like this one I took of Alexis in 2014.
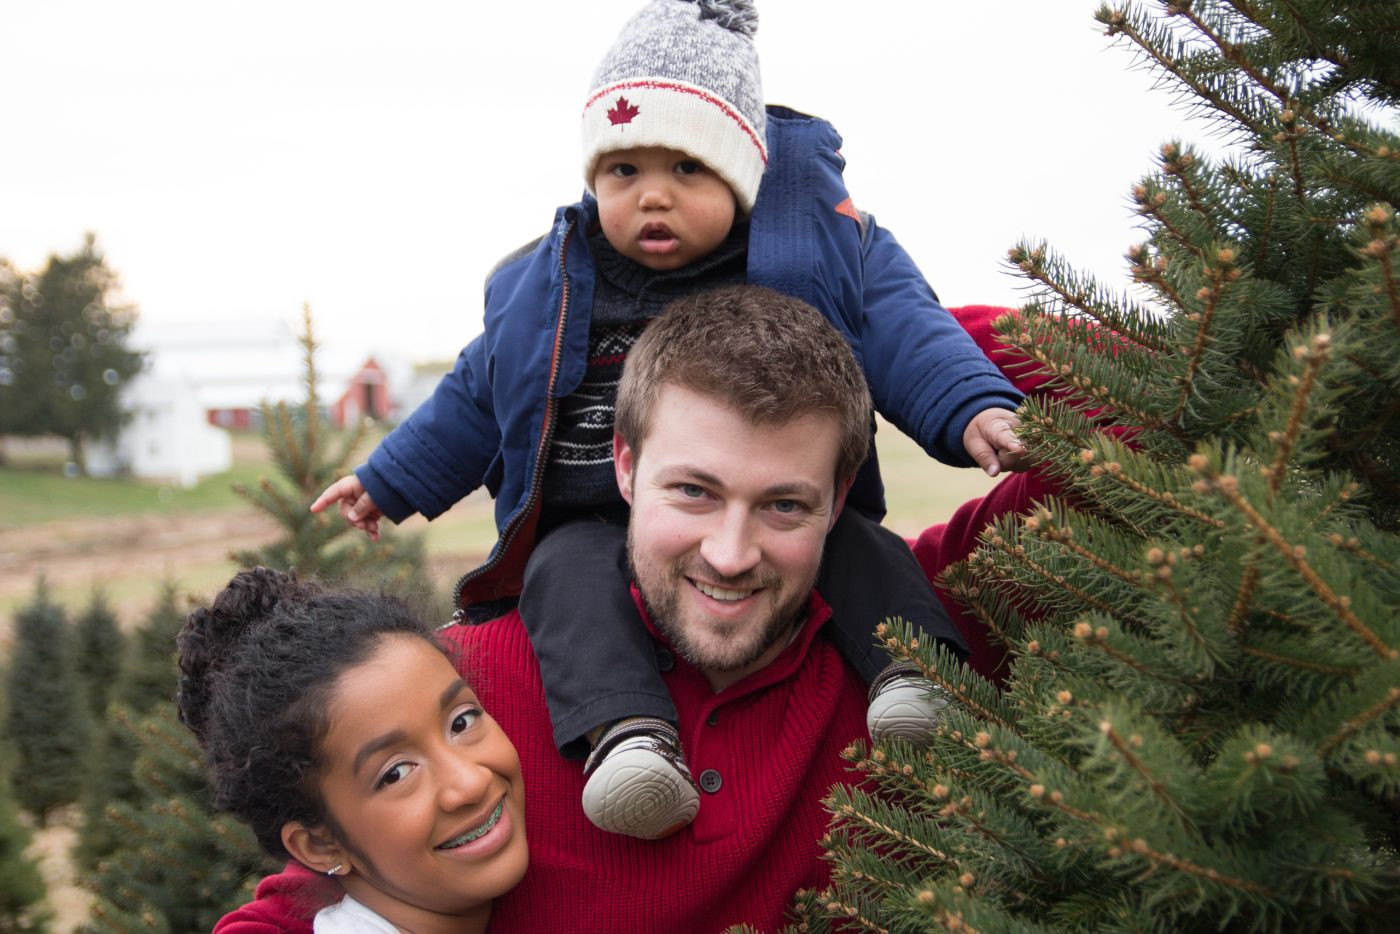
Venturing outdoors offers another popular approach for family Christmas pictures. Forests are always a classic choice. Even better, consider a Christmas tree farm! We visited one last year for our family Christmas pictures. This is a fantastic option if you typically buy a fresh tree anyway. I love activities that serve multiple purposes! At the Christmas tree farm, we took photos, enjoyed fresh donuts and cider, and picked out our tree – a triple win!
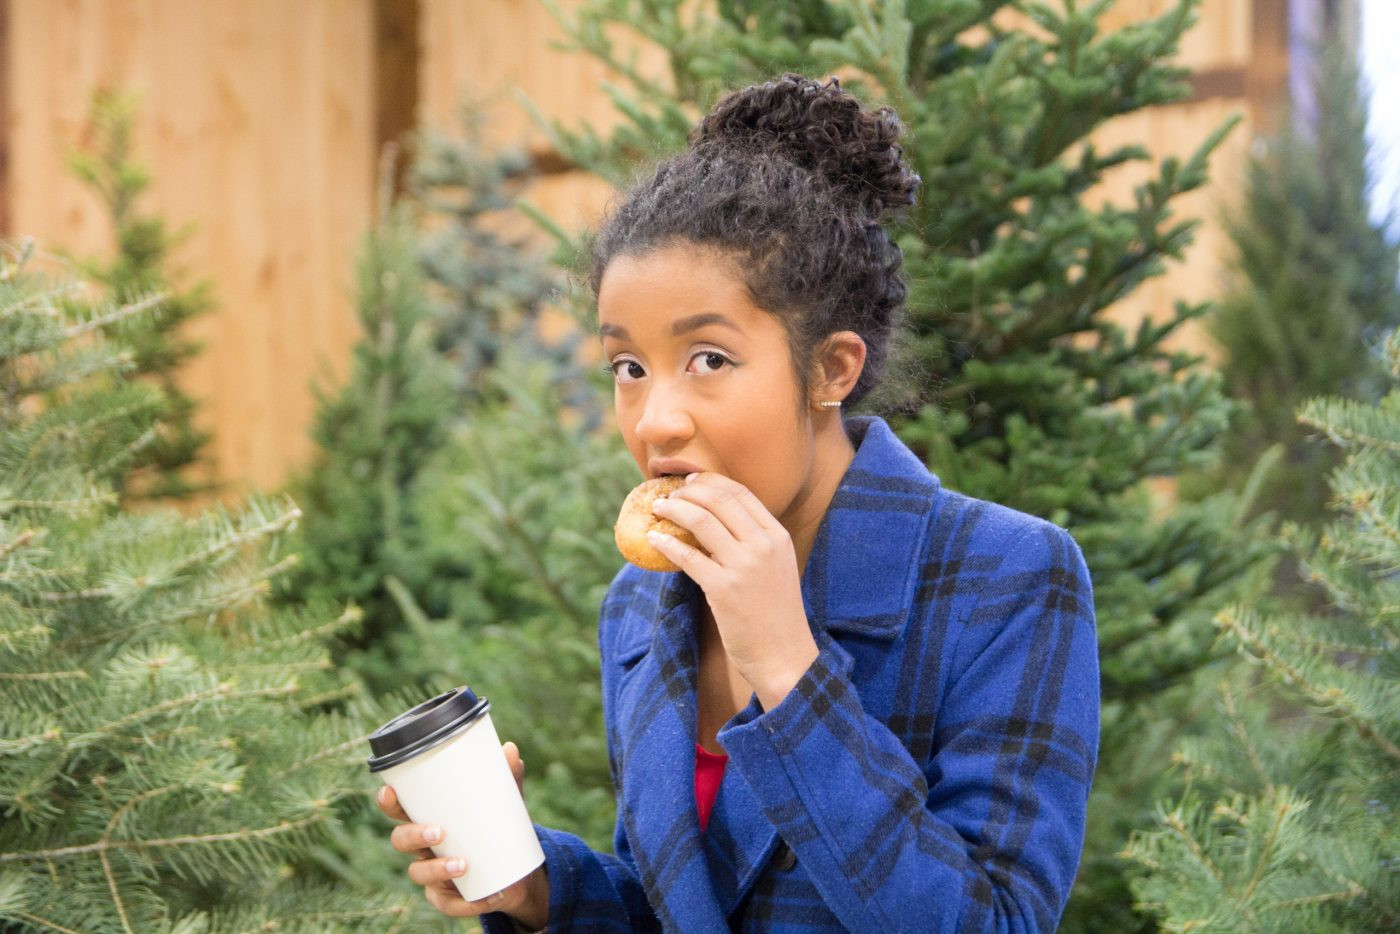 Outdoor family Christmas photo at a tree farm
STEP 4: Selecting Outfits for Your Family Christmas Pictures
If you followed Step 1 and explored Pinterest, you’ve likely already gathered outfit inspiration for your family Christmas pictures. Choose a color scheme that complements the holiday season and your chosen location. For example, shorts and flip-flops might not be ideal for a snowy outdoor setting. Similarly, if you’re at a tree farm surrounded by evergreens, avoid dressing entirely in green to prevent blending into the background.
Our family prefers outfits with complementary colors rather than perfectly matching ones. We aim for a balance of patterns and solids. Too many patterns can make the photo look busy, while too few can appear bland. For our family Christmas pictures last year, we opted for a palette of red, white, and gray. We usually manage to coordinate outfits from our existing wardrobes without extra shopping, so try that first to save money.
STEP 5: The Photo-Taking Process for Your Family Christmas Pictures
The actual process of taking family Christmas pictures is quite straightforward, especially if you use your camera’s auto mode. First, position your family against your chosen backdrop. Set up your tripod and take a few test shots to check the composition and lighting. Make sure there’s enough space in the frame to include yourself. If unsure, leave a little extra room; you can always crop later.
Set your camera to remote shooting mode, join your family, and start snapping away using the remote. Repeat this process, taking multiple shots. Especially with young children, getting everyone to look at the camera and smile simultaneously can be challenging. Be prepared to take numerous photos to get that perfect shot. For younger kids, candid shots involving playful actions like tickling, walking, or being tossed in the air often work wonderfully.
 Candid family Christmas picture
STEP 6: Basic Photo Editing for Family Christmas Pictures
Editing can elevate your family Christmas pictures from nice to truly stunning. Most computers come with basic photo editing software, allowing for simple adjustments. However, for more advanced editing and photo cataloging, I highly recommend Lightroom, even for Mac users. It’s user-friendly and offers powerful editing capabilities.
For most of my family Christmas pictures, I make four key adjustments in Lightroom. First, I slightly increase the exposure to brighten the overall image. Brighter photos generally look more appealing. Second, I increase the contrast. Third, I boost the saturation to enhance the colors. Be cautious with saturation, as overdoing it can make skin tones appear unnatural, like overly orange or red. Subtlety is key. Finally, I increase the sharpness to make the details in the photo crisper.
STEP 7: Displaying Your Gorgeous Family Christmas Pictures
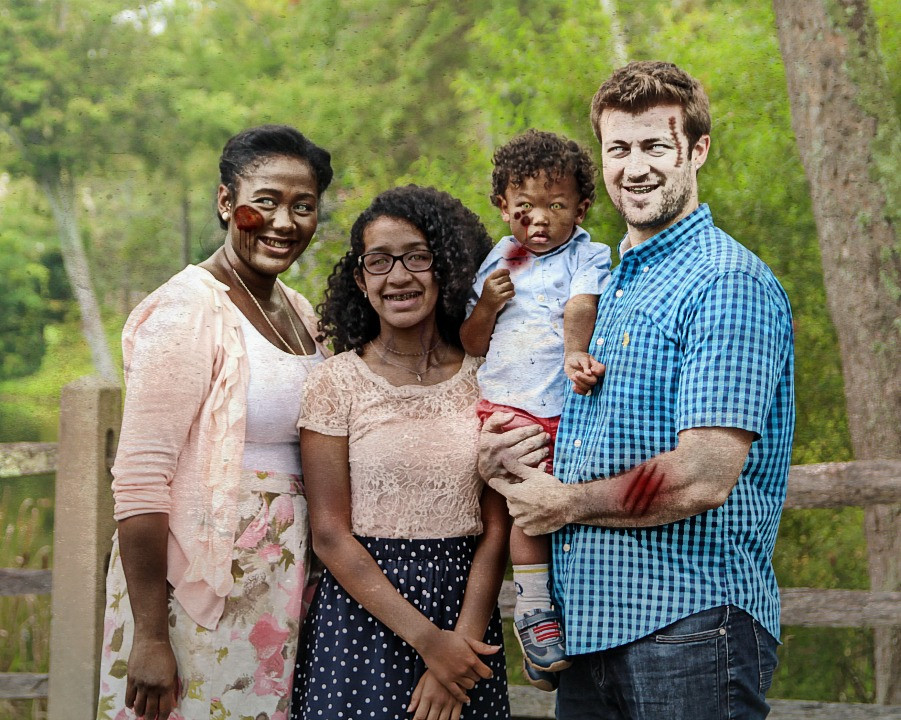
Once you have your beautiful family Christmas pictures, there are many ways to showcase them! The most common use is for holiday cards. You can also print them, frame them, and use them as festive Christmas décor around your home. Family Christmas pictures also make wonderful gifts for grandparents and other relatives. And for a fun twist later in the year, you can even transform them into zombie portraits for Halloween using apps like PicMonkey!
 Family photo as Christmas decor
Do you take your own family Christmas pictures? Share your tips and tricks in the comments below!

