
Apple’s Family Sharing feature offers a seamless way for up to six family members to enjoy Apple services and features together. Often referred to as an “Apple family plan” within the Apple Store ecosystem, this system allows you to share everything from Apple Music and Apple TV+ subscriptions to iCloud storage and app purchases without the hassle of sharing Apple IDs. This guide will walk you through setting up your own Apple family plan and maximizing its benefits for everyone in your household.
Understanding the Power of Apple Family Sharing
Before diving into the setup process, it’s important to understand what makes an Apple “family plan” – or Family Sharing – such a valuable tool for families. It’s more than just sharing subscriptions; it’s about creating a connected and organized digital environment for your family.
With Family Sharing, you can:
- Share Apple Subscriptions: Enjoy Apple Music, Apple TV+, iCloud+, Apple Arcade, and more with everyone in your family without paying for individual subscriptions. This is where the term “Family Plan Apple Store” truly comes to life, offering significant cost savings and convenience.
- Share App Store Purchases: Family members can access apps and games purchased by other family members, again without additional costs.
- Share iCloud Storage: Pool your iCloud storage into a single family plan, making it easier to manage everyone’s photos, videos, and documents.
- Manage Child Accounts: Set up Apple IDs for children under 13 with parental controls, Screen Time limits, and Ask to Buy approvals for purchases.
- Locate Family Members: Optionally share locations with family members for added safety and coordination.
Setting up Family Sharing is straightforward and can be done from any iPhone, iPad, or Mac. Let’s explore the steps.
Setting Up Your Apple Family Plan: Step-by-Step
To initiate a family group, you need to be the family organizer. This person will be responsible for managing the group and, if purchase sharing is enabled, will pay for family members’ purchases.
Setting Up Family Sharing on iPhone or iPad
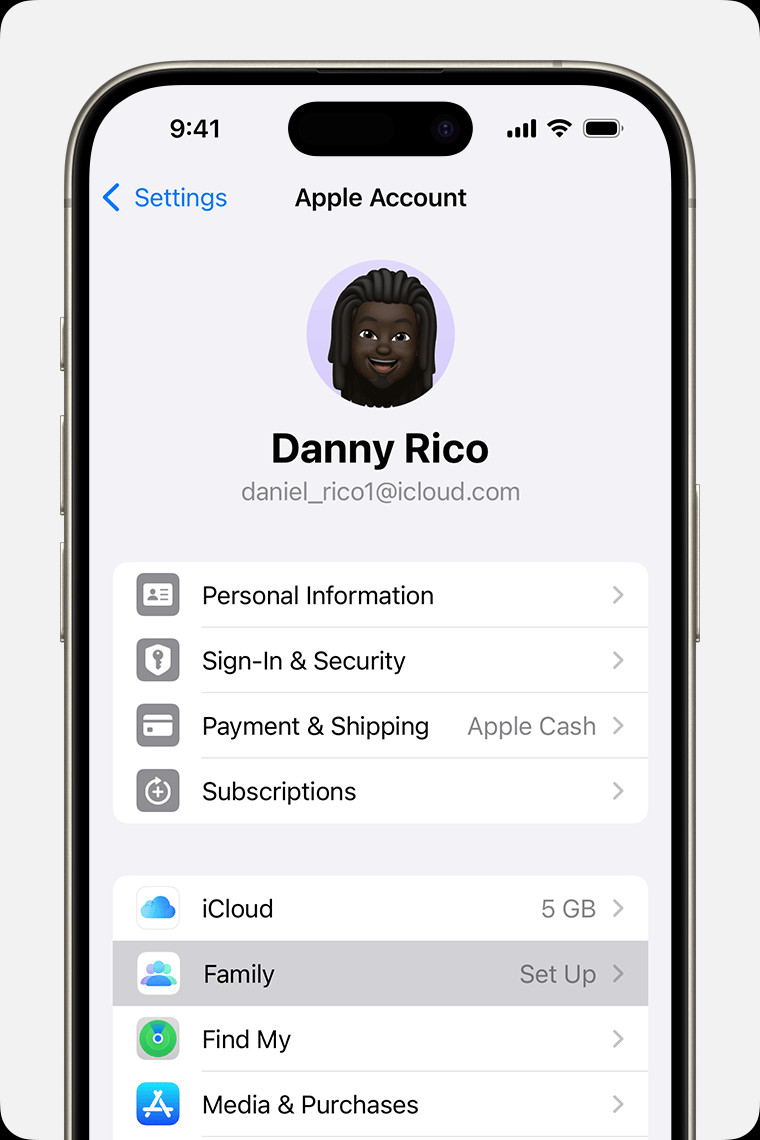
- Open Settings: Locate and tap the Settings app on your iPhone or iPad home screen.
- Access Your Apple ID: Tap on your name at the top of the Settings menu.
- Navigate to Family Sharing: Tap “Family” or “Family Sharing”.
- Start Setup: Tap “Set Up Your Family” to begin the process.
 iPhone screen showing the steps for setting up Family Sharing.
Alt Text: Setting up Apple Family Sharing on iPhone: Open Settings, tap on your name, select Family Sharing, and tap Set Up Your Family.
- Follow On-Screen Instructions: The setup wizard will guide you through the remaining steps, including inviting family members to join your group.
Setting Up Family Sharing on Mac (macOS Ventura or Later)
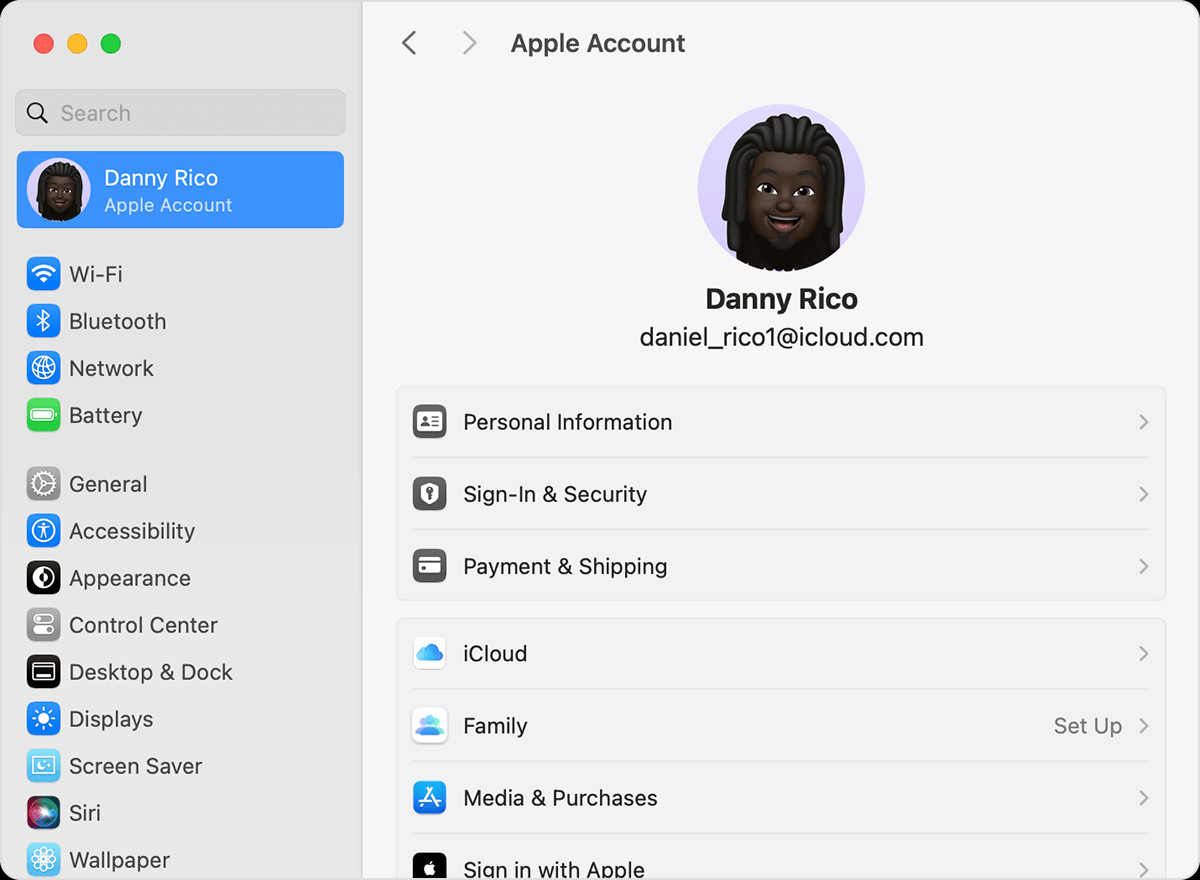
- Open System Settings: Click the Apple menu () in the top-left corner of your screen and choose “System Settings”.
- Access Family Settings: Click on your name, then click “Family” or “Family Sharing”.
- Initiate Family Setup: Click “Set Up Family”.
 macOS screen showing the steps for setting up Family Sharing.
Alt Text: Setting up Apple Family Sharing on Mac: Open System Settings from the Apple menu, click on your name, select Family, and click Set Up Family.
- Follow On-Screen Instructions: The system will prompt you through the necessary steps to create your family group and send invitations.
Inviting Members to Your Apple Family Plan
Once you’ve started your family group, you can invite family members to join. You can send invitations via Messages, email, or even in person.
Inviting Members on iPhone or iPad (iOS 16 or Later)
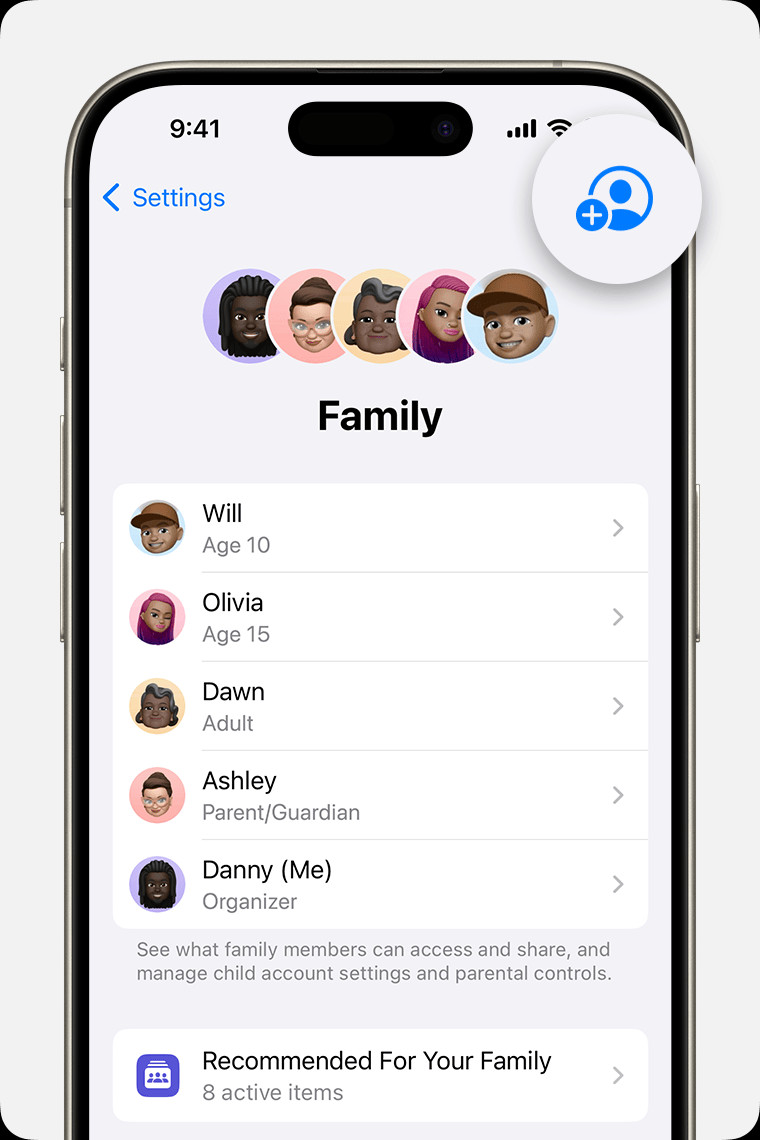
- Go to Family Settings: Open the Settings app and tap “Family”.
- Add Member: Tap the “Add Member” button.
 iPhone screen showing the steps for adding a member to your Family Sharing group.
Alt Text: Adding a member to Apple Family Sharing on iPhone: Navigate to Family settings and tap the Add Member button with a plus sign icon.
- Choose Invitation Method:
- Create a Child Account: If inviting a child without an Apple ID, tap “Create an Account for a Child”.
- Invite Existing Apple ID Users: Tap “Invite People”. They will need to enter their Apple ID password on your device to accept.
- Set Up Parental Controls (if applicable): Follow the prompts to configure parental controls, location sharing, and other features for child accounts.
Inviting Members on Mac (macOS Ventura or Later)
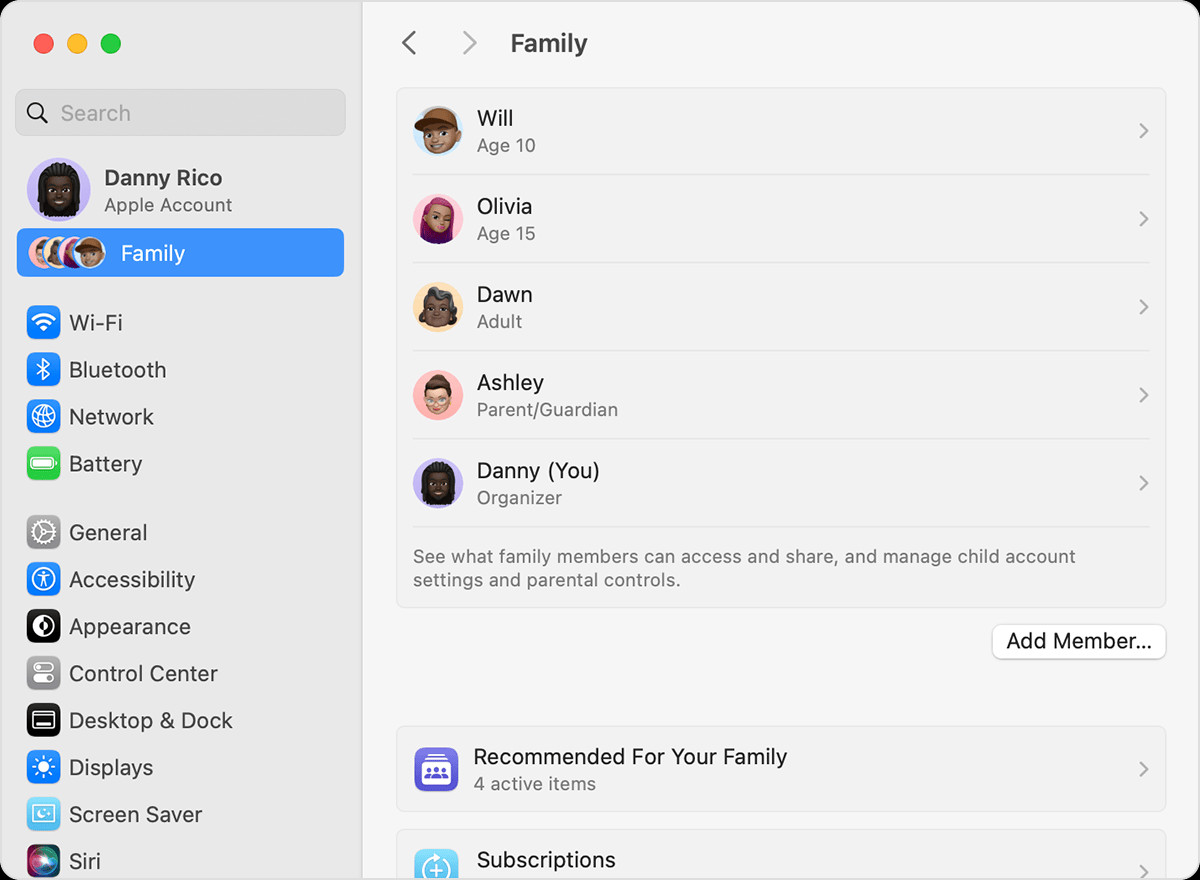
- Open Family Settings: Go to System Settings and click “Family”.
- Add Member: Click “Add Member”.
- Follow On-Screen Instructions: The system will guide you through sending invitations to your chosen family members.
 macOS screen showing the steps for adding a member to your Family Sharing Group.
Alt Text: Adding family member on macOS: In System Settings, go to Family section and click on the Add Member button to invite new members.
Checking Invitation Status and Resending Invitations
After sending invitations, you can easily check if they have been accepted and resend invitations if needed.
Checking Invitation Status on iPhone or iPad
- Open Family Settings: Go to Settings and tap “Family”.
- View Member Status: Tap on the person’s name to see their invitation status.
- Resend Invitation (if needed): If the invitation is still pending, tap “Resend Invitation”.
Checking Invitation Status on Mac (macOS Ventura or Later)
- Open Family Settings: Go to System Settings and click “Family”.
- View Member Status: Click on the person’s name to check the status.
- Resend Invitation (if needed): Select “Resend Invitation” if necessary.
Joining an Apple Family Plan
If you receive an invitation to join an Apple Family Plan, you can accept it directly from your device. Invitations are typically sent via email or text message.
Joining on iPhone or iPad
- Open Settings: Go to the Settings app and tap your name.
- Access Invitations: Tap “Invitations”.
- Accept Invitation: Follow the on-screen instructions to accept the family plan invitation. You may be asked to confirm your account details and opt-in to family features.
Joining on Mac (macOS Ventura or Later)
- Open System Settings: Go to System Settings and click “Family”.
- Accept Invitation: Follow the prompts to accept the invitation. Similar to joining on iPhone or iPad, you might need to verify your account and enable family features.
Troubleshooting Invitation Issues
If you encounter issues accepting an invitation, remember that you can only be part of one family group at a time and can only switch family groups once per year. If you’re unable to accept, double-check if your Apple ID is already associated with another family group.
Unlock the Full Potential of Your Apple Family Plan
By setting up an Apple “family plan,” you’re not just sharing services; you’re creating a more connected and efficient digital experience for your entire family. From managing subscriptions and sharing purchases to keeping everyone organized and safe, Family Sharing is a powerful tool for any Apple-loving household. Take advantage of these features today and maximize your “family plan apple store” benefits.